
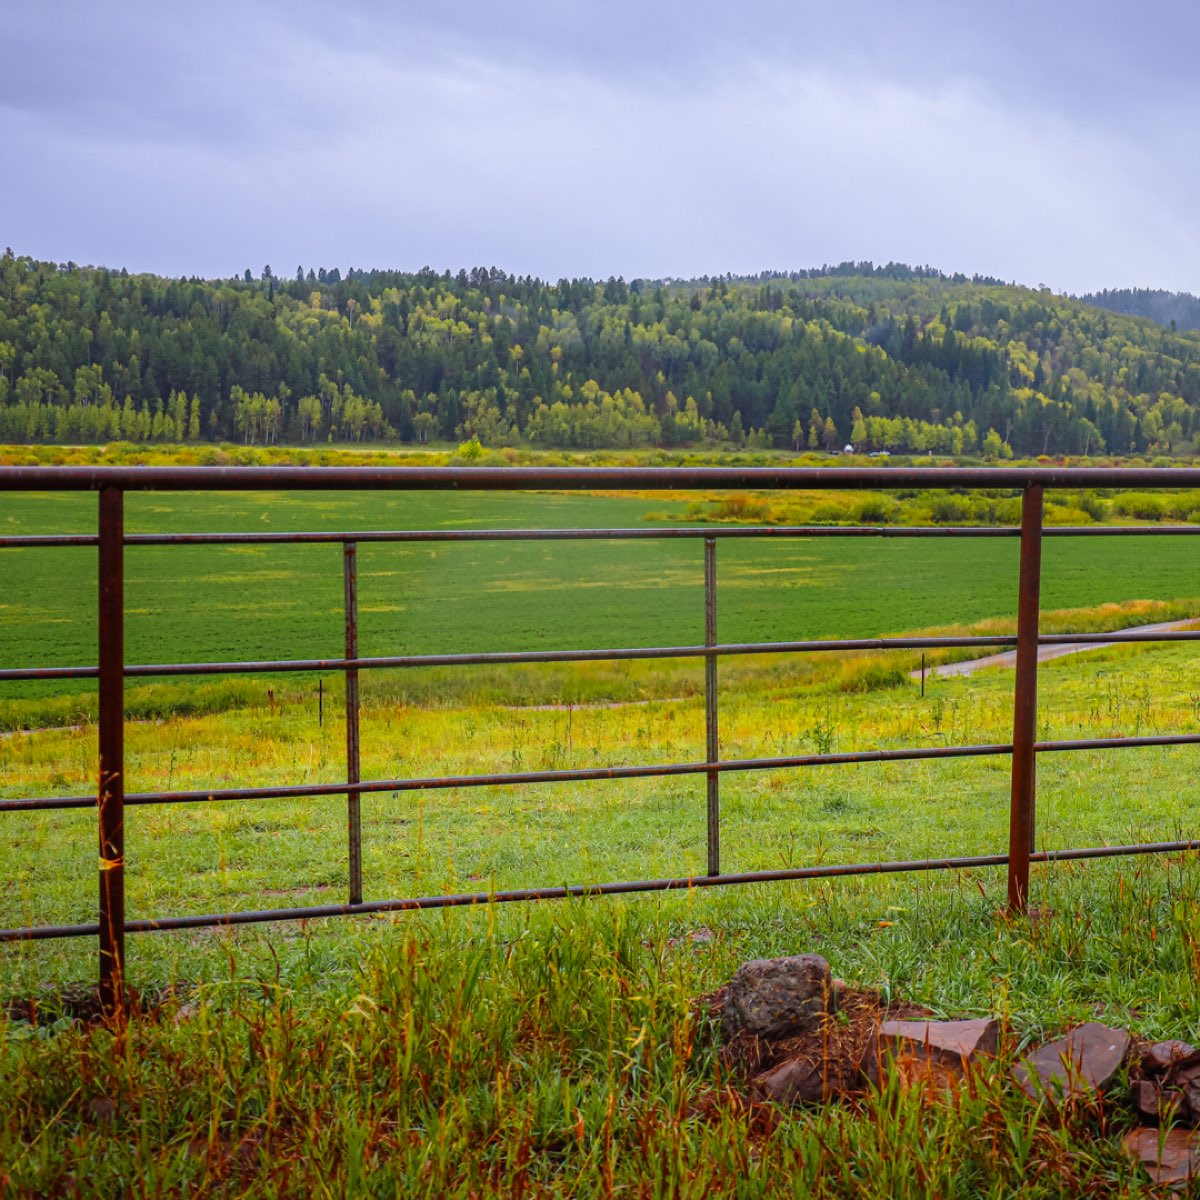
A continuous fence project is easiest to change on paper. Once posts, gates and long welded sections are on site, every missed corner or narrow equipment opening costs time. A simple field plan helps you order the right combination of panels and accessories and gives the installer a much clearer starting point.
Map the fence line and every job it must do
Walk the full route and sketch the straight runs, corners, elevation changes, gates, alleys and tie-in points. Note where animals are simply contained and where they will crowd, turn or challenge the fence. A pasture boundary, a feed lane and a working pen may use the same product family but create very different pressure.
- Measure each straight run instead of estimating the total perimeter.
- Mark every corner, end, gate and connection to an existing structure.
- Identify high-pressure areas such as crowding points and narrow turns.
- Record slopes, drainage crossings and places equipment must pass.
- Photograph unusual connections so the dealer or installer can see them.
Match the panel configuration to the livestock
PTI offers continuous fence in multiple lengths, rail counts and round-tube diameters. More rails and different tubing options change the panel's spacing, weight and intended use. Start with animal type and pressure, then compare the exact specifications instead of choosing by appearance alone.
If the same property handles different classes of livestock, show that on the plan. The most demanding section may need a different configuration from a low-pressure boundary. Your dealer can help keep the system consistent while accounting for those changes.
Treat gates and traffic flow as part of the fence
Gate placement controls how the fence works every day. Check the swing area, approach angle, latch side and the width needed for tractors, trailers or feeding equipment. A gate that fits the opening can still be inconvenient if animals bunch in front of it or machinery cannot line up.
Include people gates, equipment gates and future access points on the first drawing. Also mark where snow, mud or bedding could interfere with the swing. It is usually easier to adjust the plan before the posts are set than to add a clean opening later.
Confirm posts, clips and installation details
Continuous fence is a system, not only a stack of welded sections. The order also needs the correct posts, clips, end connections and gate hardware. Soil, frost, terrain and local installation practices can change how that system should be supported, so confirm post spacing and embedment with the dealer or installer responsible for the project.
Plan delivery and staging
Long steel sections need a safe place to unload and stage. Confirm truck access, turning room, overhead clearance, ground conditions and the equipment available for unloading. Stage materials near the work without blocking the same roads or alleys the operation still needs to use.
Build an order from the drawing
Label each run on the sketch and create a matching material list: panel type and quantity, posts, clips, gates, hardware and any transition pieces. Add a small allowance only after the layout and connection method are clear. The goal is not to guess high—it is to make every item traceable to a place on the plan.
Build the fence plan
Compare PTI continuous fence → Browse gates and accessories → Compare self-standing panels → Find a dealer for a material review →Before ordering, walk the route once more with the drawing in hand. Check the measurements, gate direction, equipment clearance and tie-in points. That final field check is one of the cheapest steps in the project—and one of the most useful.